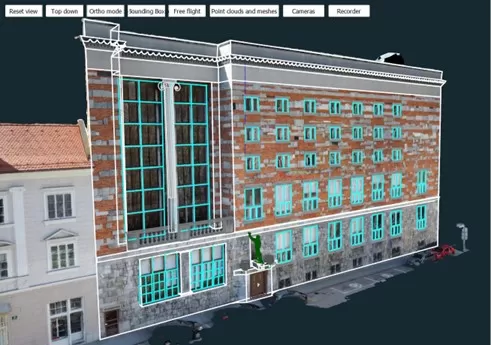

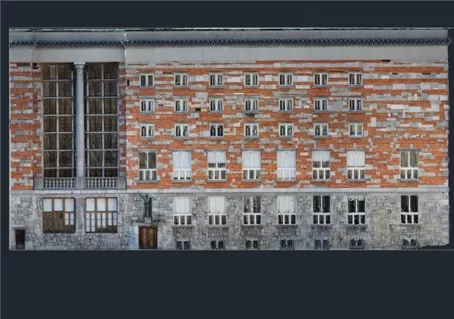
NUK exterior

NUK interior
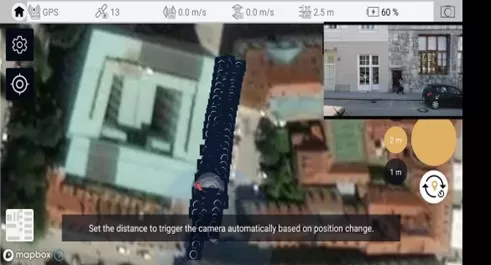
3Dsurvey Pilot app
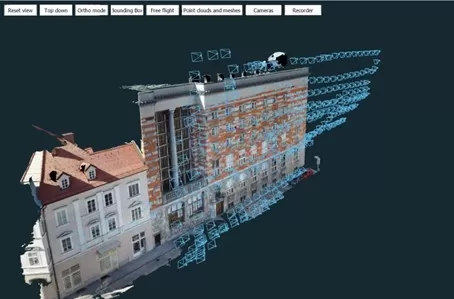
Camera positions. We also measured 6 GCPs with the Total station.
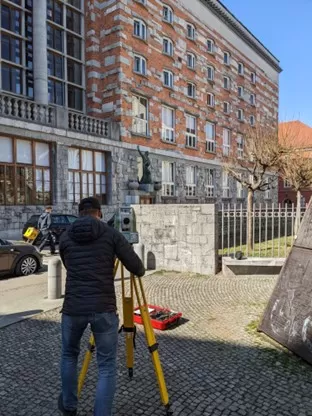
Measuring GCPs with the Total station

CAD drawings over 3D mesh
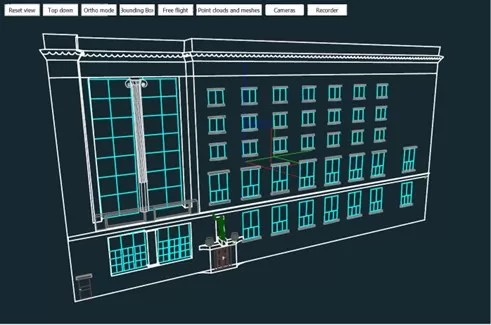
CAD drawings
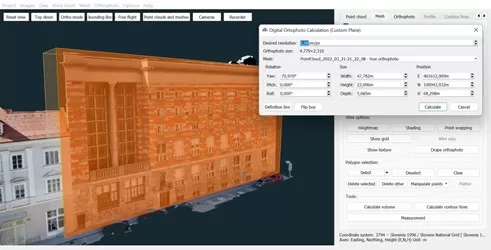
Creating Custom Plane Orthophoto
Custom Plane Orthophoto
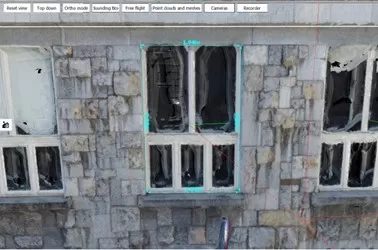
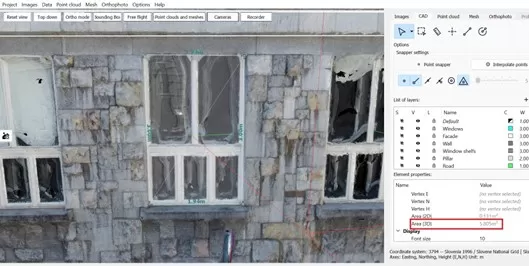
Measurements of the window