When you need to extract an image of a surface that’s not parallel to the ground (eg. walls, steep roofs or towers), it’s best to define a custom plane with your desired tilt/angle, depth and extent.
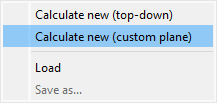
To create a custom plane orthophoto, open the Orthophoto tab and choose the Calculate new (custom plane).
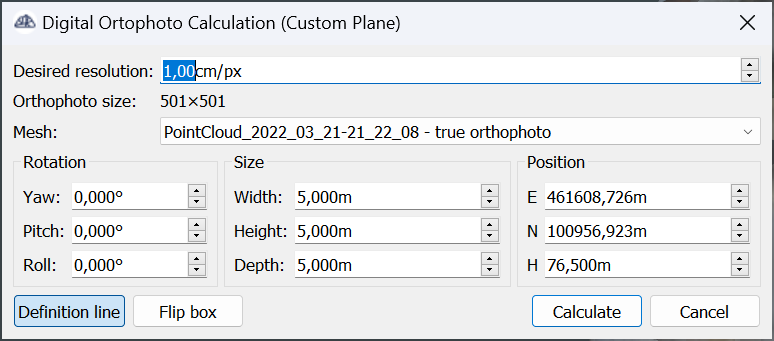
A new window will open up in the middle of your screen. Select the mesh you want to create an orthophoto of, then proceed with area selection. The first thing you will want to work with is the Definition line. The feature is already activated by default.
You will notice an orange box attached to your cursor. This box defines the extent and viewpoint angle of your orthophoto.

Example of a facade orthophoto
Let’s see how to work with this box on a practical example. Follow these instructions for the facade orthophoto. You can also watch a video of a similar case.
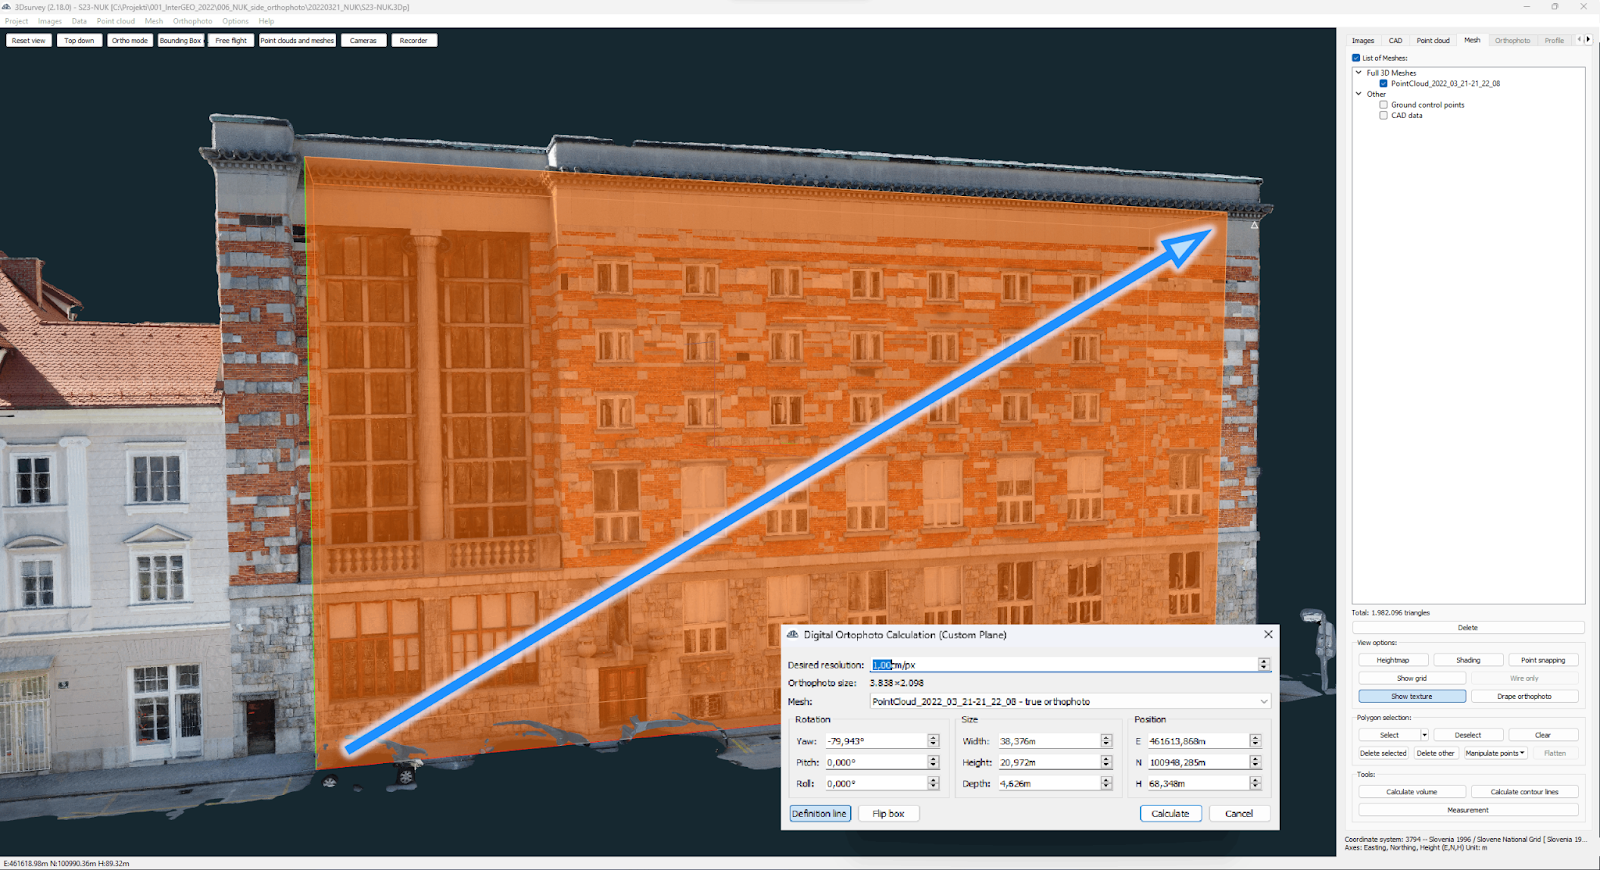
- Left click in the lower left corner of the 3D model for the area you want to capture in the orthophoto.
- Extend the box to the top-right corner.
- The base of your Orthophoto box is set
- Now adjust the box faces to include desired extent of your 3D model
- Rotate your model using the left mouse button to clearly see the face you want to adjust. Then click and hold the face with your right mouse button
- Repeat this step on all of the faces
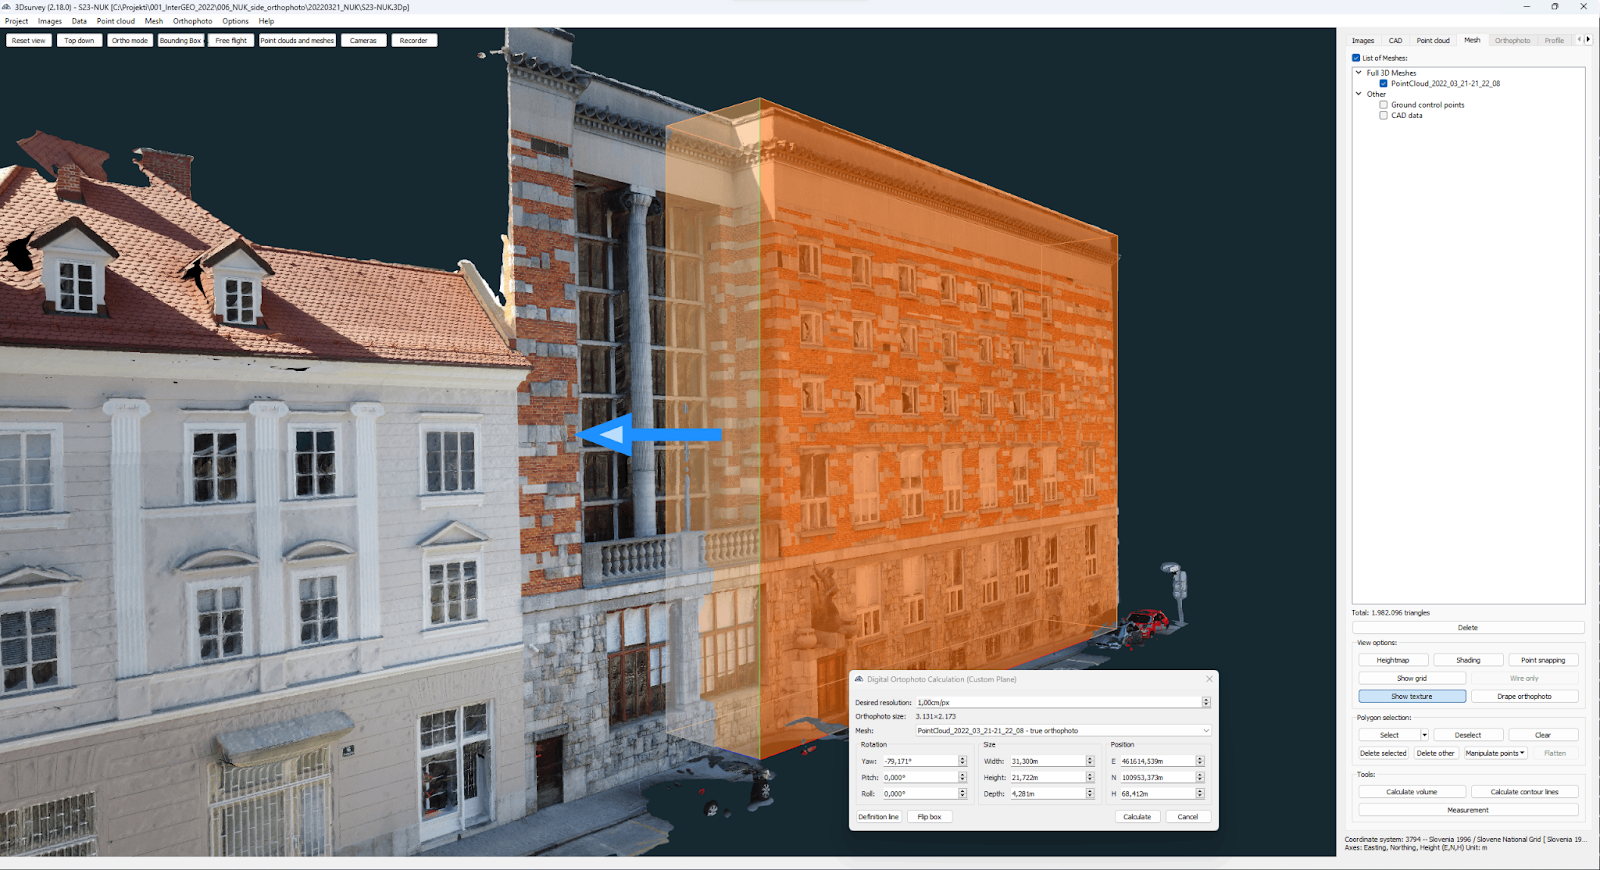
- Do not forget about the “front” and “back” faces. These two define the depth of your orthophoto
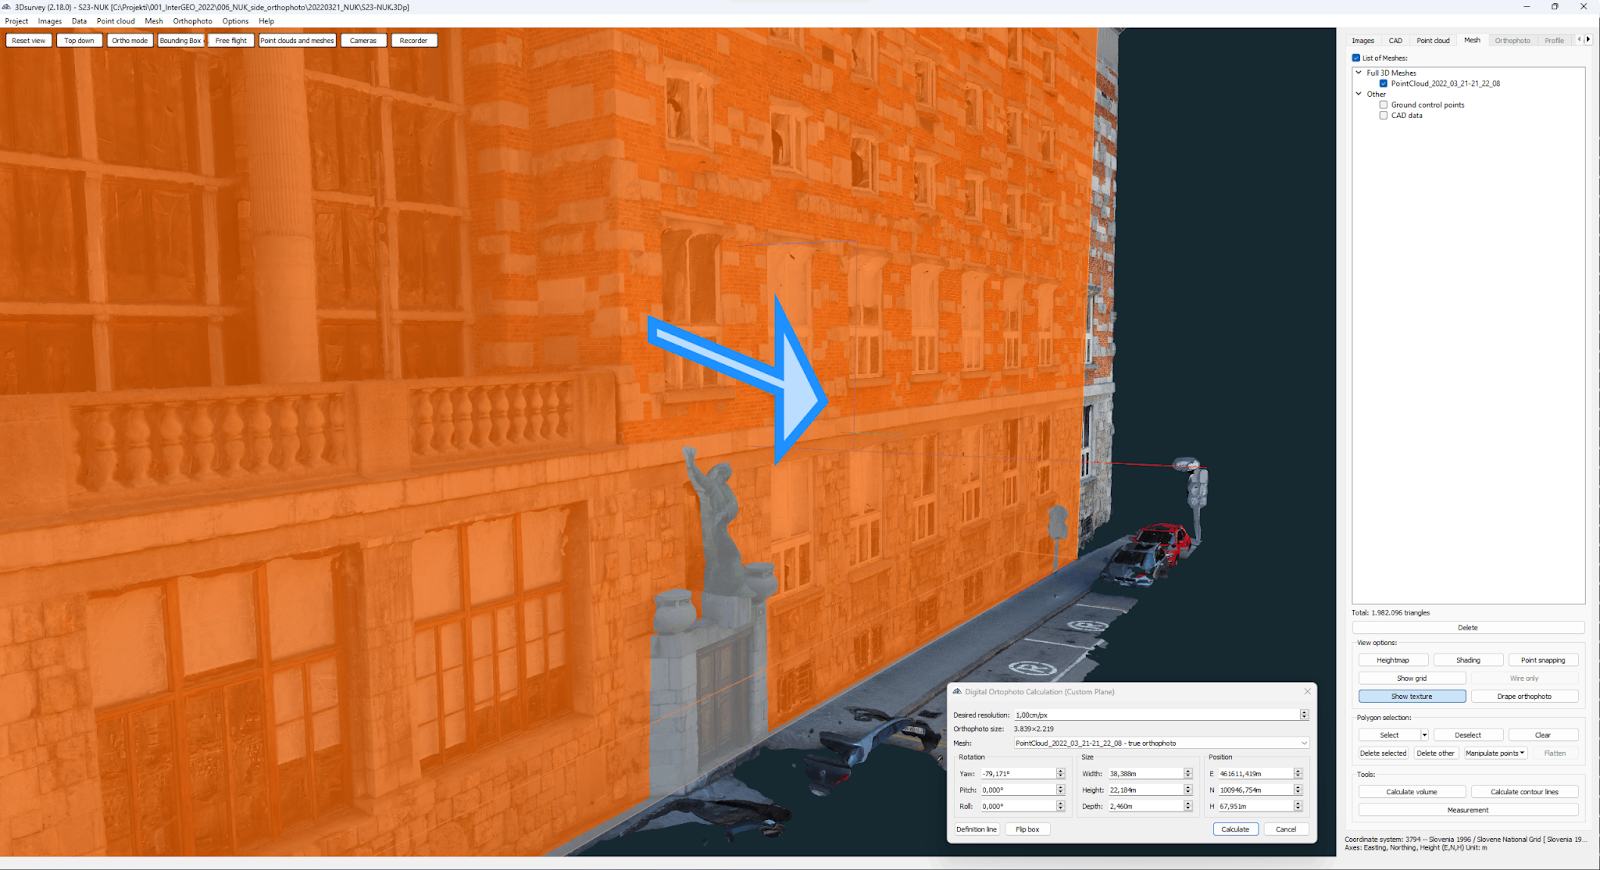
- In this case we need to pull the front face further out to include the statue above the entrance. Be careful not to include the cars by the sidewalk.
- Similarly, the “back” face has to pulled back far enough to include all the window details
- Remember the “line of sight” rule applies here. So basically, “what you see is what you get”. Objects in the background, obscured by frontal objects, will not be visible in the final orthophoto.
Also check the rotation of your orthophoto box. If your definition line was pulled over a non-linear surface, the box may come out tilted.

Hover over the edge of the box you want to rotate, when it highlights click and hold with a right mouse button. Imagine you are grabbing the box by this edge as it is anchored on the opposite side. As long as you hold down the mouse button, you can rotate the box. This works the same for any rotation axis.
Hint: hold down shift to slow down the rotation and make it more precise.
Another approach to work with the orthophoto box
Another approach to work with the orthophoto box is by using the input fields.
This approach is especially useful if you need an orthophoto of a specific size or know the exact angle by which you need to rotate your box. Simply input the numbers into the text box next to the appropriate parameter. You may recognise the Rotation parameters from telemetry data, since the same names are used to describe the camera angle values.
Yaw: rotates your box around the vertical axis
Pitch: Rotates the vibrant orange face abound the horizontal axis
Roll: Rotates around the axis perpendicular to the vibrant orange face
Hint: you can combine the two approaches
The highlighted face of the box is the side of the box on which your model will be projected. In case you want to switch the “back” and “front” faces, click the Flip box button. This will flip your box so that the highlighted plane switches places with the “back” face, effectively bringing you the orthophoto from the other side of your model.
Define resolution
When you are satisfied with the extent and the angle of your orthophoto, it is time to define its resolution. The resolution is defined with pixel size; the smaller the pixel the greater the resolution.

Since the custom plane orthophoto is usually done on much smaller areas, don’t be afraid to use a smaller number than you’re used to when producing the large areas top down orthophotos. We have added the Orthophoto size calculator here to help you see the size of the image to be produced.
When you are satisfied with your settings, click Calculate to produce your custom plane orthophoto. As with all other orthophotos, this one can also be found under the Orthophoto tab.
For a specific use case on custom plane orthophotos, please read https://3dsurvey.si/custom-plane-orthophoto-and-extracting-window-dimensions/

