Welcome to 3Dsurvey tutorials.
We’re going to show you how to work with Point cloud editing tools most efficiently.
Navigating the 3Dsurvey Viewer
To effectively control the 3Dsurvey viewer, use the left mouse button to rotate the model, the middle button to pan, and the scroll wheel to zoom in and out. For detailed inspection of a specific area, center the point cloud by adjusting the top and side views. You can also increase the point render size for better quality when zoomed in, which makes detailed areas easier to examine.
Deleting Points
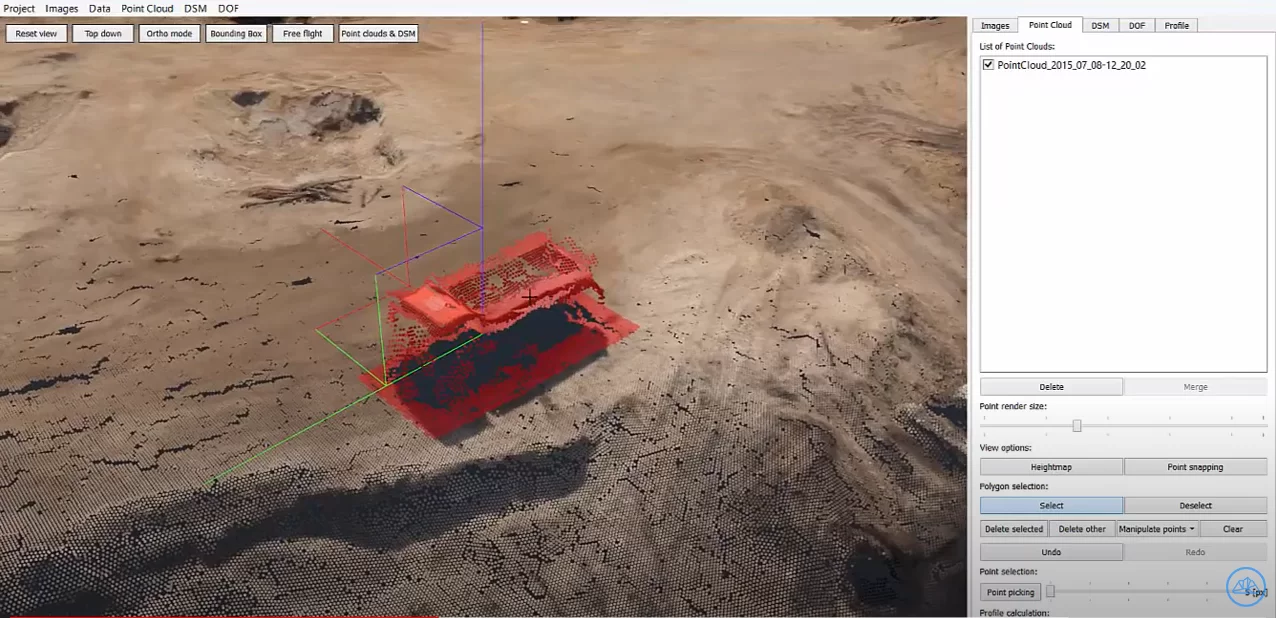
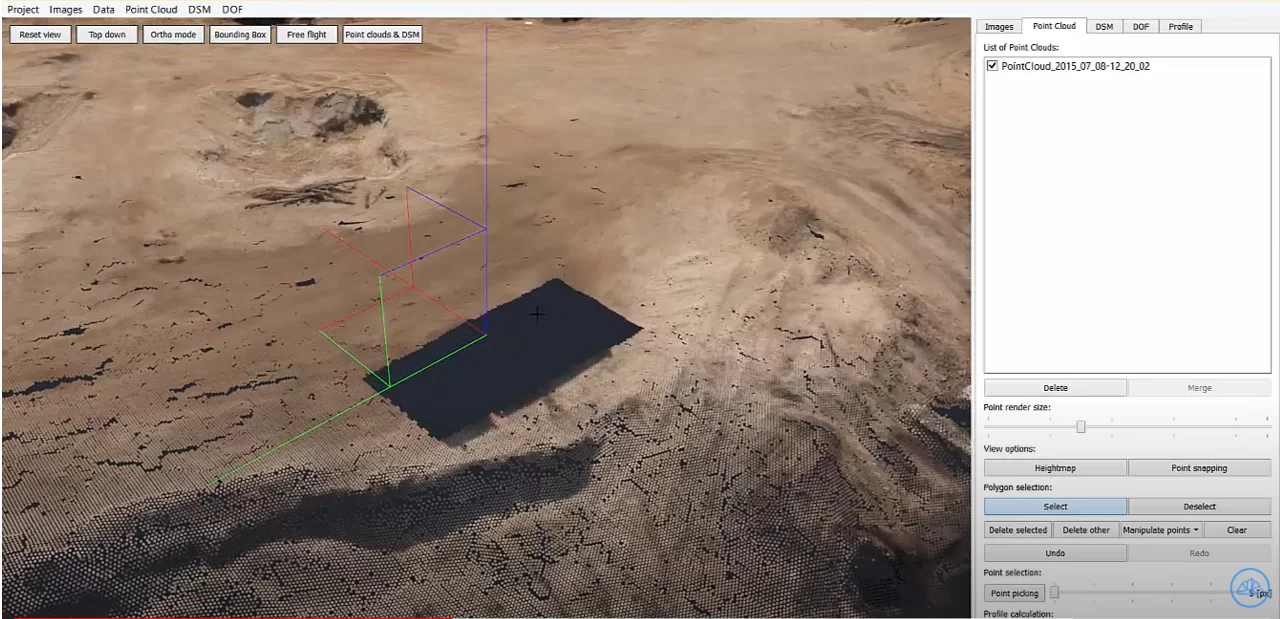
Removing unnecessary points from a point cloud is simple. Just select the points you want to delete and press the delete button. This helps you clear unwanted data while keeping your workspace organized and efficient.
Checking Elevation with the Point Snapping Tool
In constantly changing environments, the Point Snapping tool is valuable for checking elevation changes. You can measure and move points to a specific elevation—like 295.10 meters—directly in the software, with the elevation displayed in the lower-left corner. This enables you to compare different heights and then generate a digital surface model to check the outcome of these modifications.
Manipulating the Point Cloud Surface
If the point cloud surface needs to be raised or lowered to reflect changes over time, use the Manipulate Points tool. After selecting the area you want to adjust, use the tool to increase or decrease the height accordingly. This is particularly useful when you know how much the surface has shifted since the last data acquisition.
Optimizing Data with the Delete Other Function
To streamline your data, the Delete Other function allows you to keep only the essential areas. Select the points you want to preserve, and once processing is complete, click the Delete Other button to remove all non-selected points. This ensures that you optimize storage space and improve performance, making your workflow smoother and more efficient.

