In this tutorial you will learn how to set your vertical coordinate system by choosing a geoid.
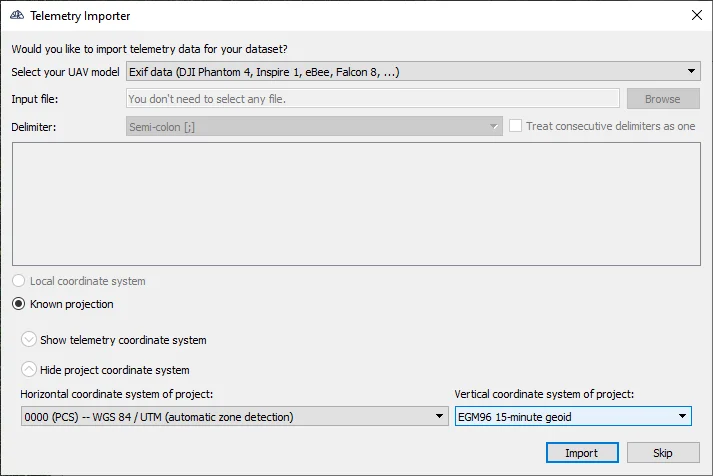
In this example we are working with some images taken with an RTK drone. When you import them as a new project, the telemetry importer dialogue opens up.
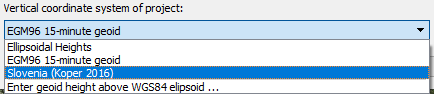
In the drop down menu you have an option to choose a geoid. By default you have three options, you can choose:
Now let’s see how to get additional geoid options.
First close 3Dsurvey, because it needs to be restarted for this to take effect.
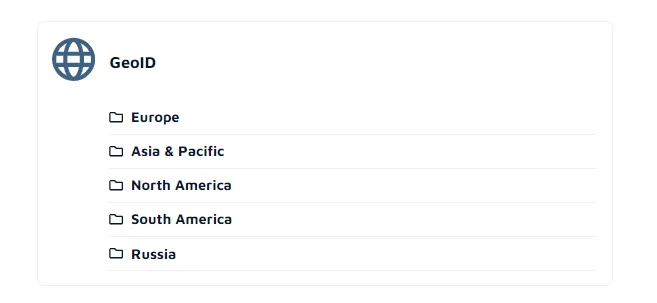
Go to our website at: https://3dsurvey.si/ and log in. After that go to Downloadables, scroll down until you find “Geoid”. Now find your region and download your file.
If your local geoid isn’t available contact our support (support@3Dsurvey.si) send us your file and we will transform it into 3Dsurvey acceptable format for you.
When your file is downloaded, unpack it and run the bat file. The program does all the rest for you.
Restart 3Dsurvey and when you return into the telemetry importer dialog, you will see an additional option in the drop down menu.
Watch it on YouTube:
Subscribe to our newsletter