Point cloud editing tools
Welcome to 3Dsurvey tutorials.
We’re going to show you how to work with Point cloud editing tools most efficiently.
To start, just a few tips on how the 3Dsurvey viewer works. Use left mouse click to rotate the model, middle button to pan the model and scroll up or down to zoom in or out. If you’d like to inspect a part of the model in detail, the best way is to move the area point cloud to the centre.
Do this first from the top view followed by the side view. Zoom in to see all the details. You can also increase the point render size for a better quality.
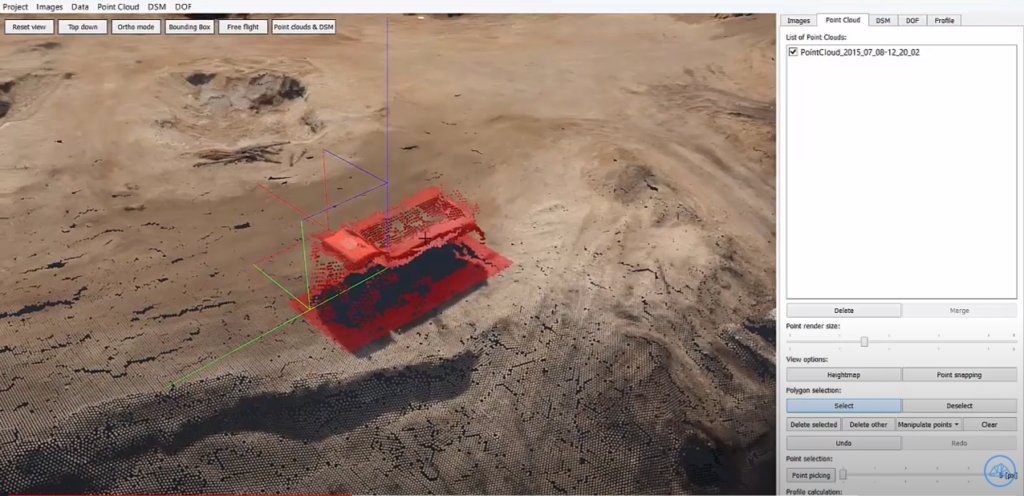
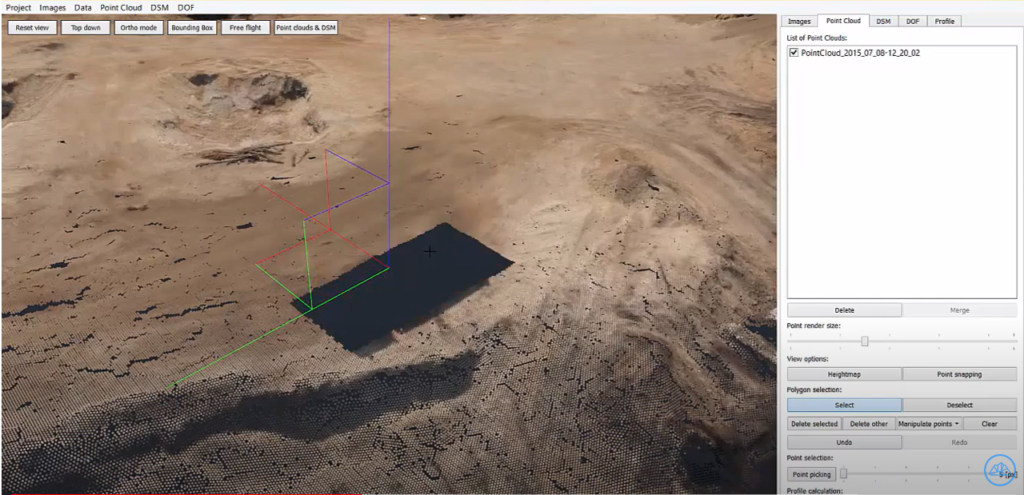
To delete points from a point cloud simply select them and click Delete.


Doing measurements on an active site means you’re dealing with constant change and it’s simply impossible to monitor everything as you go. That’s when the quality of your data comes in. It enables you to check the changes in terrain height using Point Snapping tool. Point elevation is displayed in the bottom left corner of 3Dsurvey software.
To see all the changes, select the area and move points to a level you want… 295.10 meters in this case. Calculate digital surface model and check the result.
Another option is to use Manipulation tool to lower or raise the point cloud surface. It comes in handy in case you know how much the surface has changed compared to your last data acquisition. Just select the area of points you want to move, click Manipulate points and select Increase.
Another interesting tool when using point cloud and DSM is Delete other function. Use this tool to quickly delete everything you don’t need. Select the area you want to keep, wait for it to process and click Delete other… That will help you optimise the data storage and have your computer work smoothly.

